Google Photos is one of the most popular applications for editing and viewing images stored on your device. Over the years, Google has added several functionalities including a Map View that allows users to see where the photo was captured.
Here’s how to use the ‘Map View’ and see your pictures on a map using Google Photos.
Google Photos can help you find photos taken in an area.


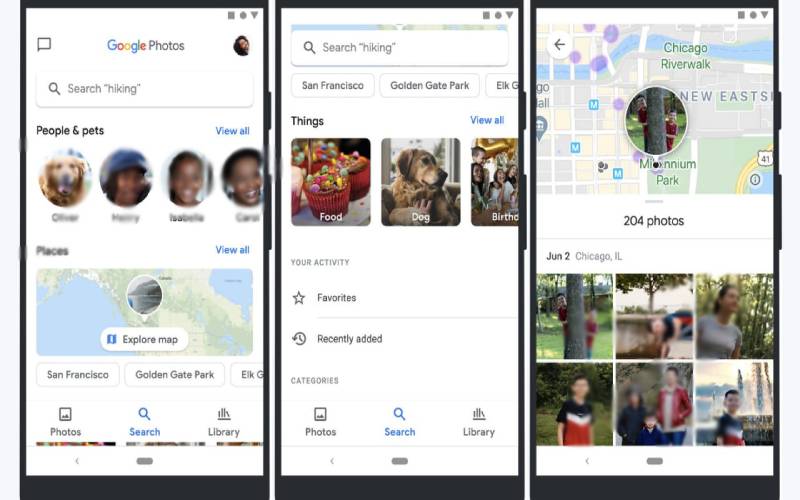
Open Google Photos on your phone and head over to the ‘Search’ section on the bottom bar.
Here, you will be able to see a timeline of your photos and a heatmap of where you have taken the pictures.
The timeline is basically a list of geotagged images in reverse chronological order, with the latest images shown on the top. Clicking on the blue bubbles will show photos you have captured in that location. You can also zoom out and zoom in on a particular location.
Tapping on the three-dot menu on the top right of the screen will open a new screen where you can switch between default, satellite and terrain view just like Google Maps.
If you want to see where a specific photo was taken on the map, open the image, tap on the three-dot menu in the top right corner and under the location section, you will see where it was taken.
Note: Only photos backed up on the Google Photos app and with location information can be viewed on the map.